Setting Up ArgoCD for Continuous Delivery on EKS: A Step-by-Step Guide
In this article, we will explore how to set up ArgoCD on Amazon EKS to enable continuous delivery for your Kubernetes applications. ArgoCD is a powerful GitOps-based tool for automating the deployment and management of applications in Kubernetes clusters. It helps synchronize your application’s desired state defined in a Git repository with the actual state in the Kubernetes cluster.
The article will cover the following key topics:
Introduction to ArgoCD and GitOps: Understand the core concepts of GitOps and why ArgoCD is an ideal tool for continuous deployment.
Installing ArgoCD on EKS: Step-by-step instructions to deploy ArgoCD in an EKS cluster.
Creating github repo for argocd application : Learn how to create github repo and push code using git
Deploying Your First Application: Deploy an application using ArgoCD and manage it through the ArgoCD UI or CLI.
Configuring ArgoCD for Ongoing Delivery: Automate application updates by configuring sync policies and monitoring deployments.
By the end of this article, you will have a fully functional ArgoCD setup on EKS, ready for continuous delivery of your applications.
Let’s jump into it !!!
Introduction to ArgoCD and GitOps:
GitOps is a modern approach to continuous deployment that uses Git as the source of truth for defining and managing infrastructure and applications. It allows developers to automate deployments and ensure consistency between the declared and actual state of the system. ArgoCD is a powerful GitOps tool for Kubernetes that automates application deployment and synchronization, enabling efficient, declarative, and version-controlled delivery. It provides an intuitive UI, CLI, and robust features for managing and tracking applications, making it an ideal choice for continuous deployment in Kubernetes environments.
Installing ArgoCD on EKS:
kubectl create namespace argocd

kubectl apply -n argocd -f https://raw.githubusercontent.com/argoproj/argo-cd/stable/manifests/install.yaml

To Set argocd as current/default namespace -
kubectl config set-context --current --namespace=argocd

Download argocd cli :https://github.com/argoproj/argo-cd/releases
The command argocd login --core logs into the ArgoCD API server using the local kubeconfig for authentication without requiring explicit username and password.
argocd login --core

To check admin password
argocd admin initial-password

Port forward argocd service so we can access argocd dashboard from host machine browser -
kubectl port-forward svc/argocd-server -n argocd 8080:443

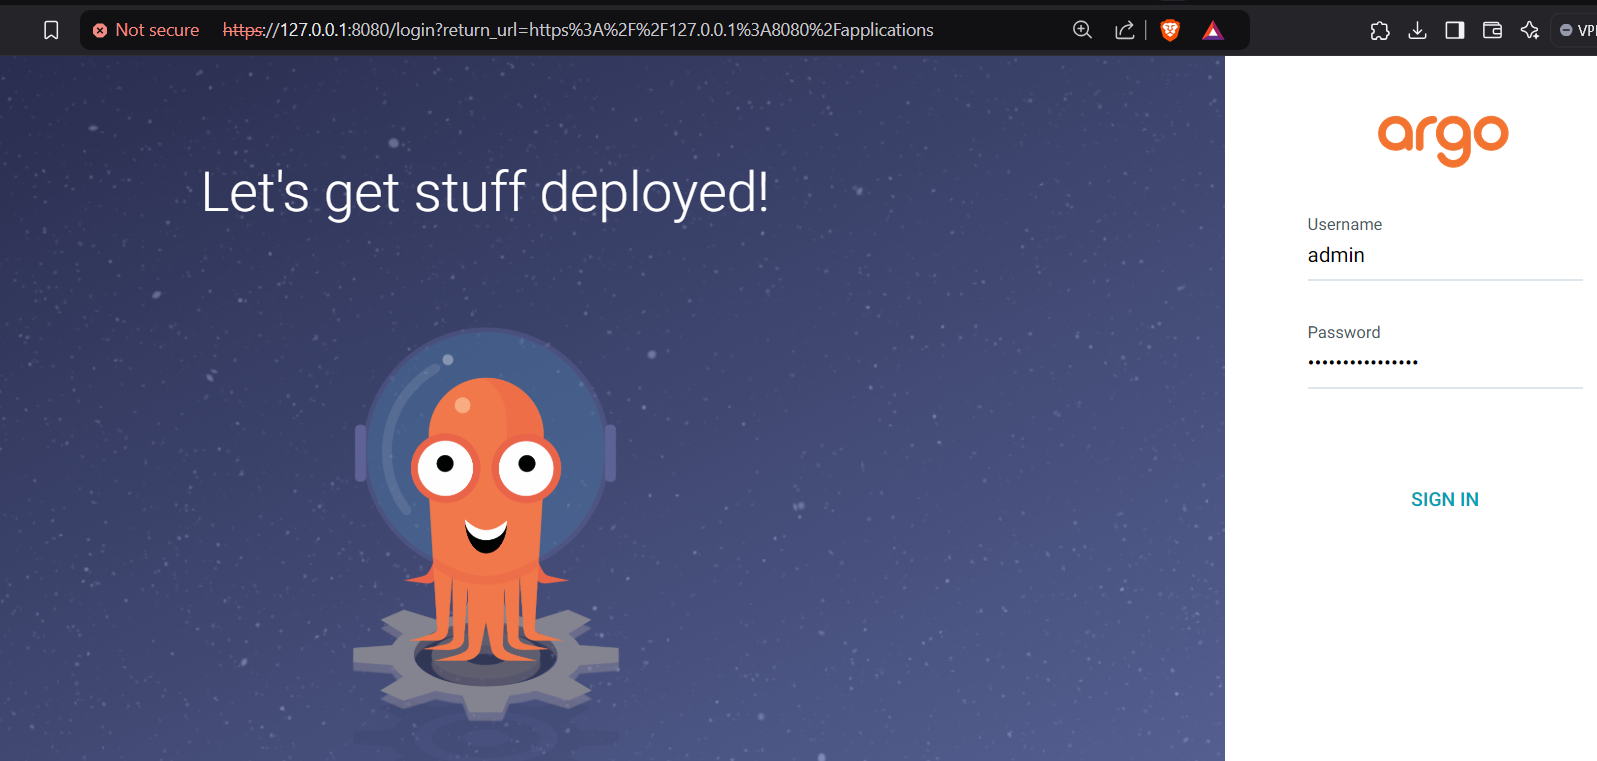
Access argocd on http://127.0.0.1:8080 or http://localhost:8080
Username: admin
Password: <check previous command for password>
Argocd initialized successfully ! Now it’s time to connect your github repo to argocd app to utilize power of GitOps
Creating github repo for argocd application
Create github acc if you don’t have:
To use git commands from terminal install :
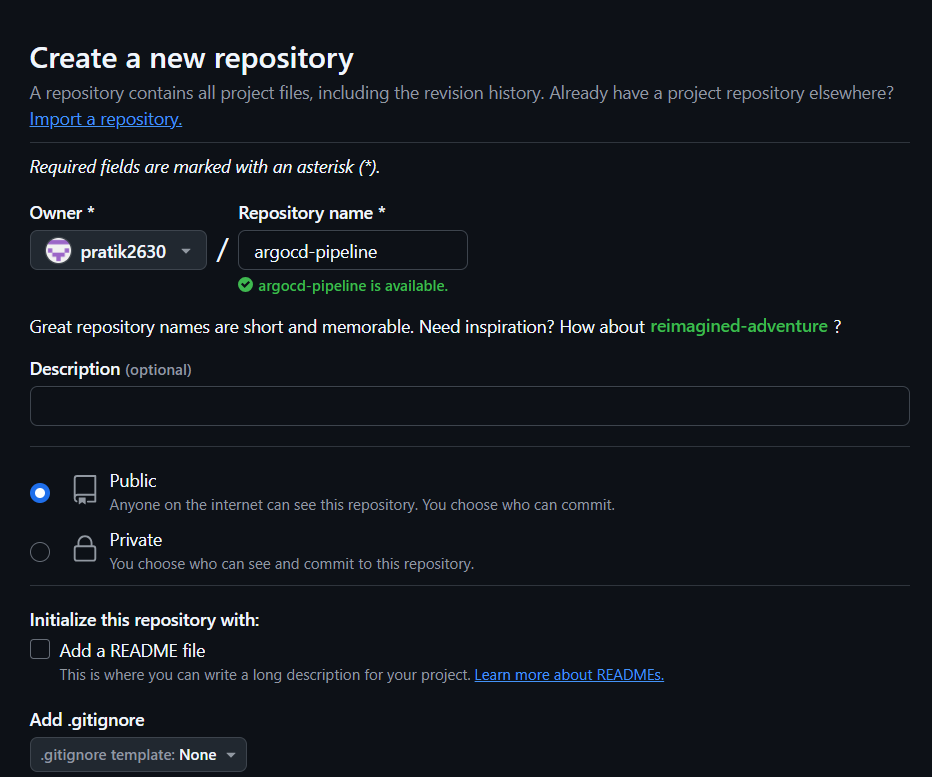
Create new github repo:
On terminal / git bash
Create separate folder for managing this repo
For example:
mkdir argocd-pipeline
Cd argocd-pipeline
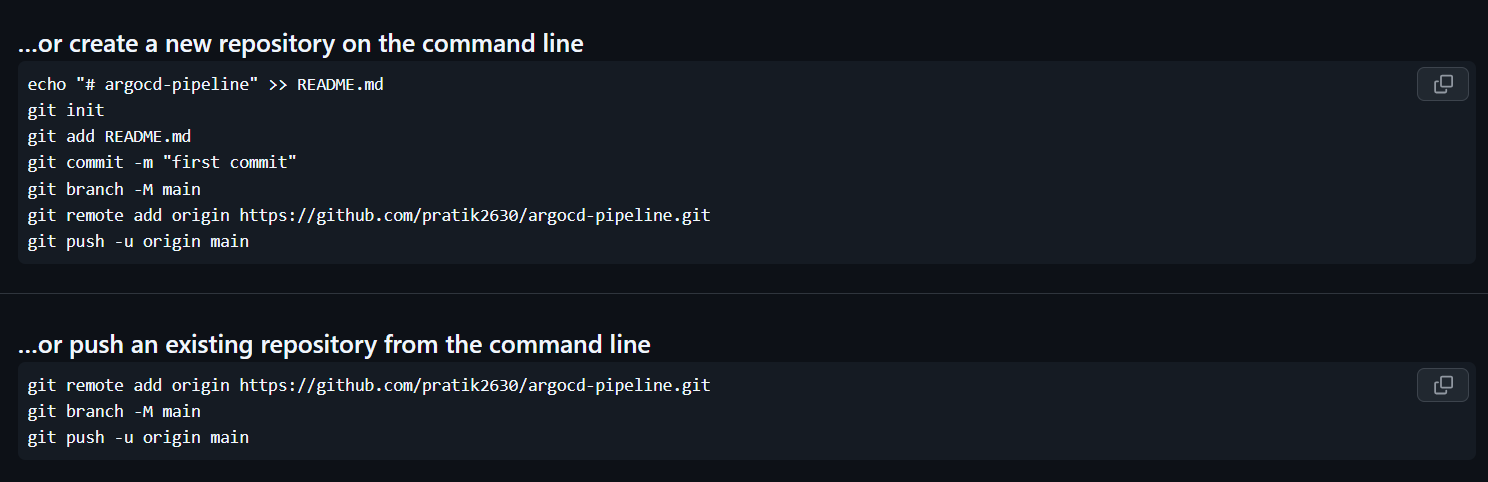
Then run following commands
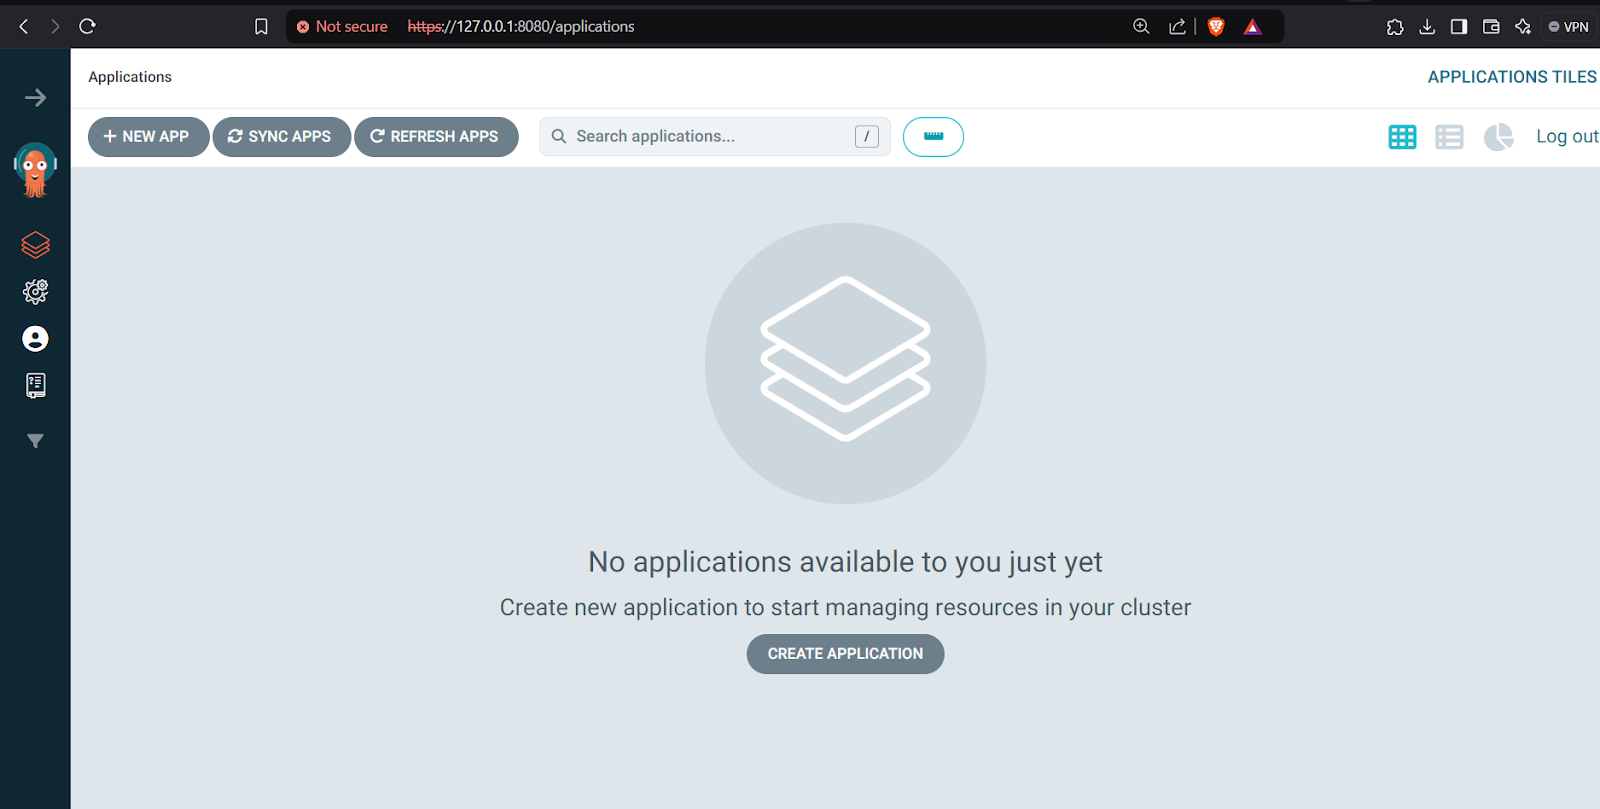
Creating ArgoCD App
Select “New App“ and follow along given pictures
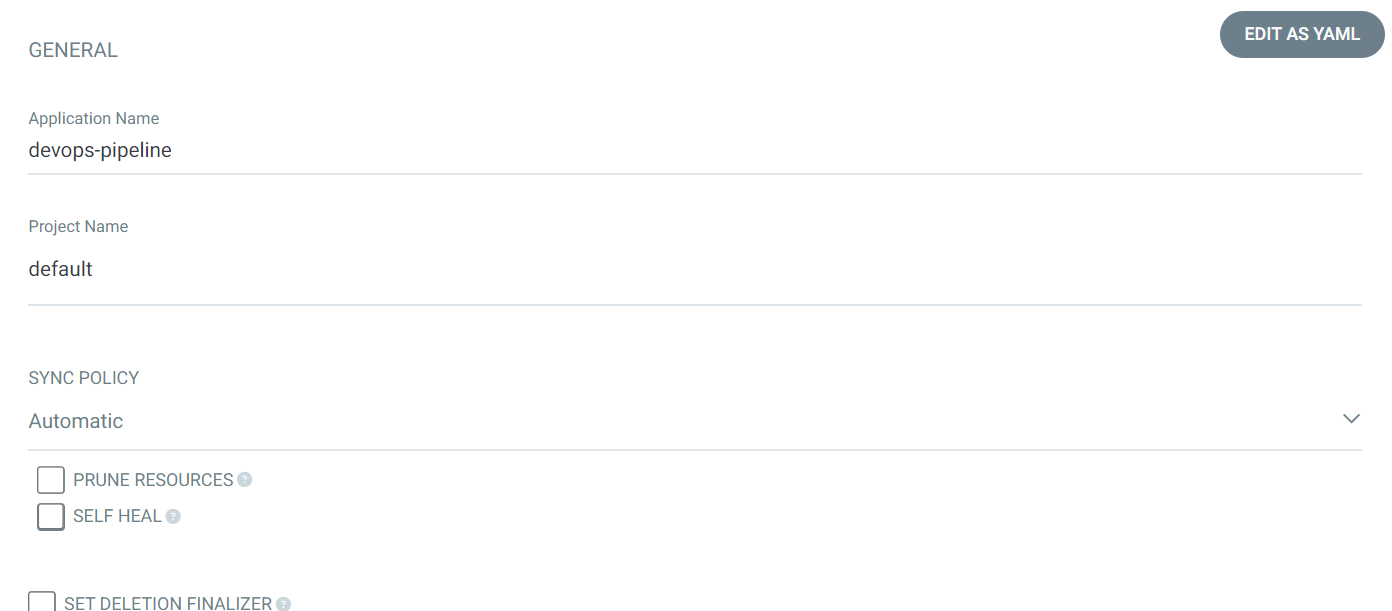
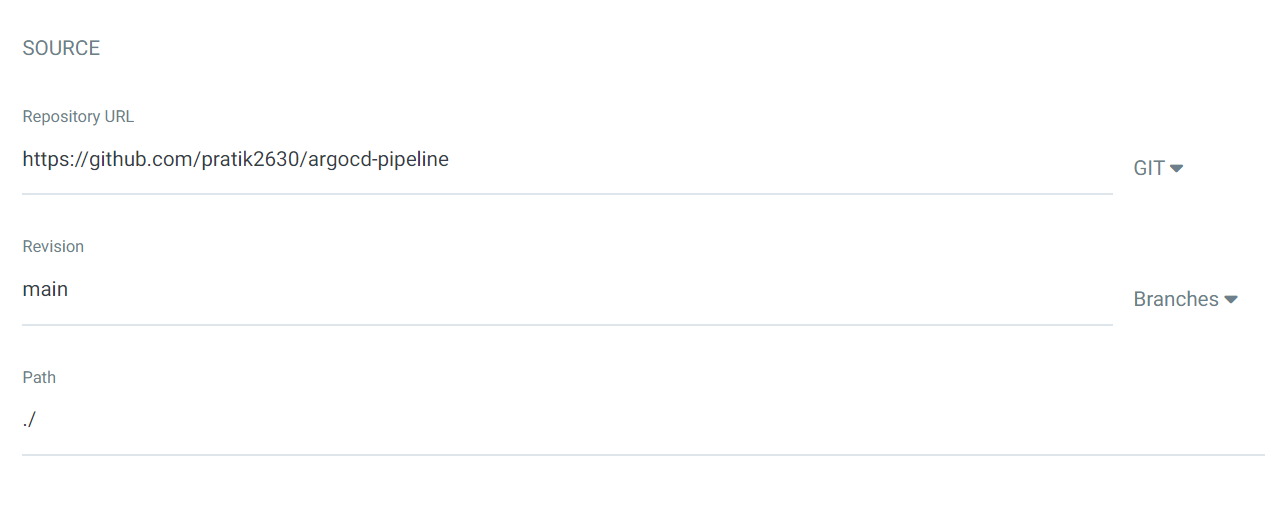

Create App
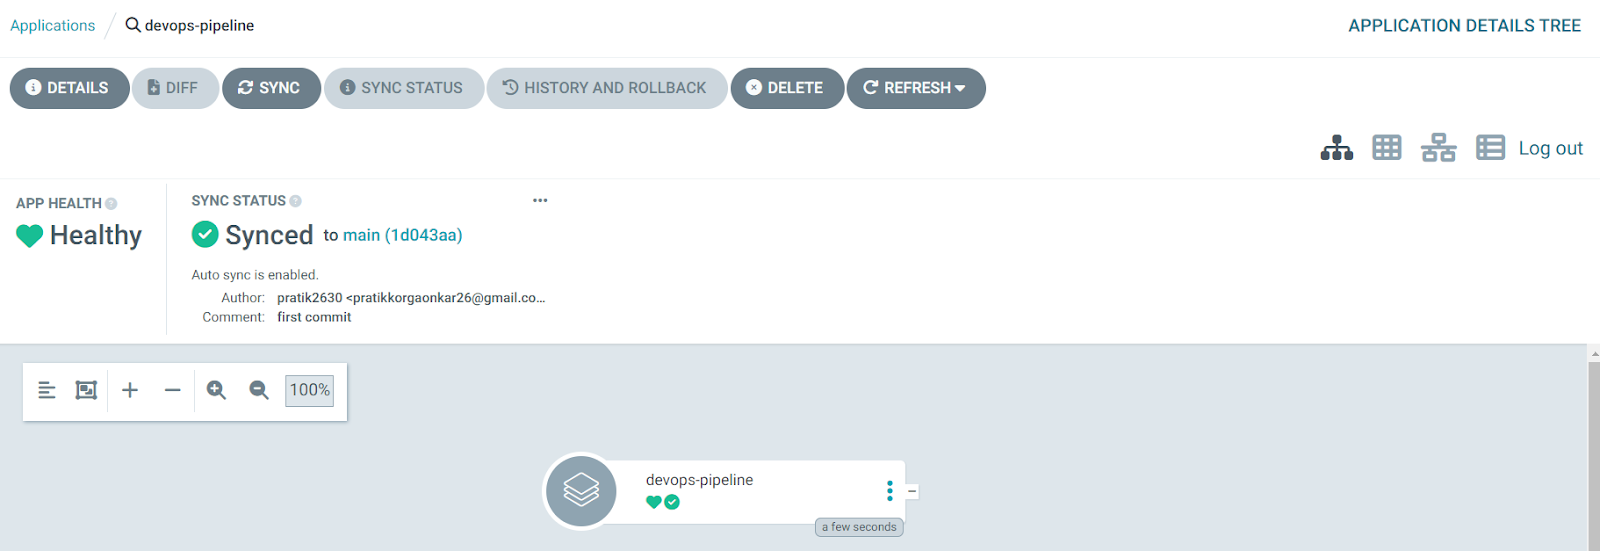
App Dashboard
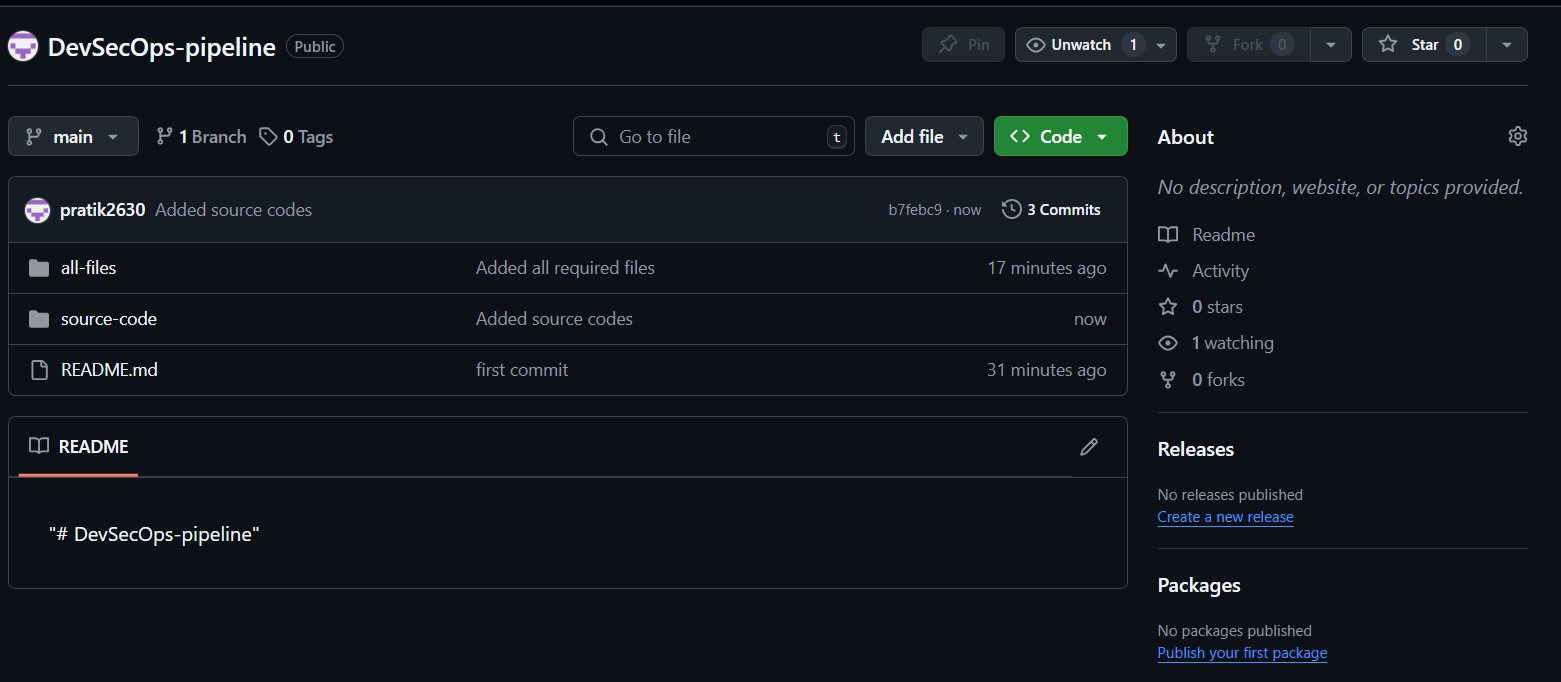
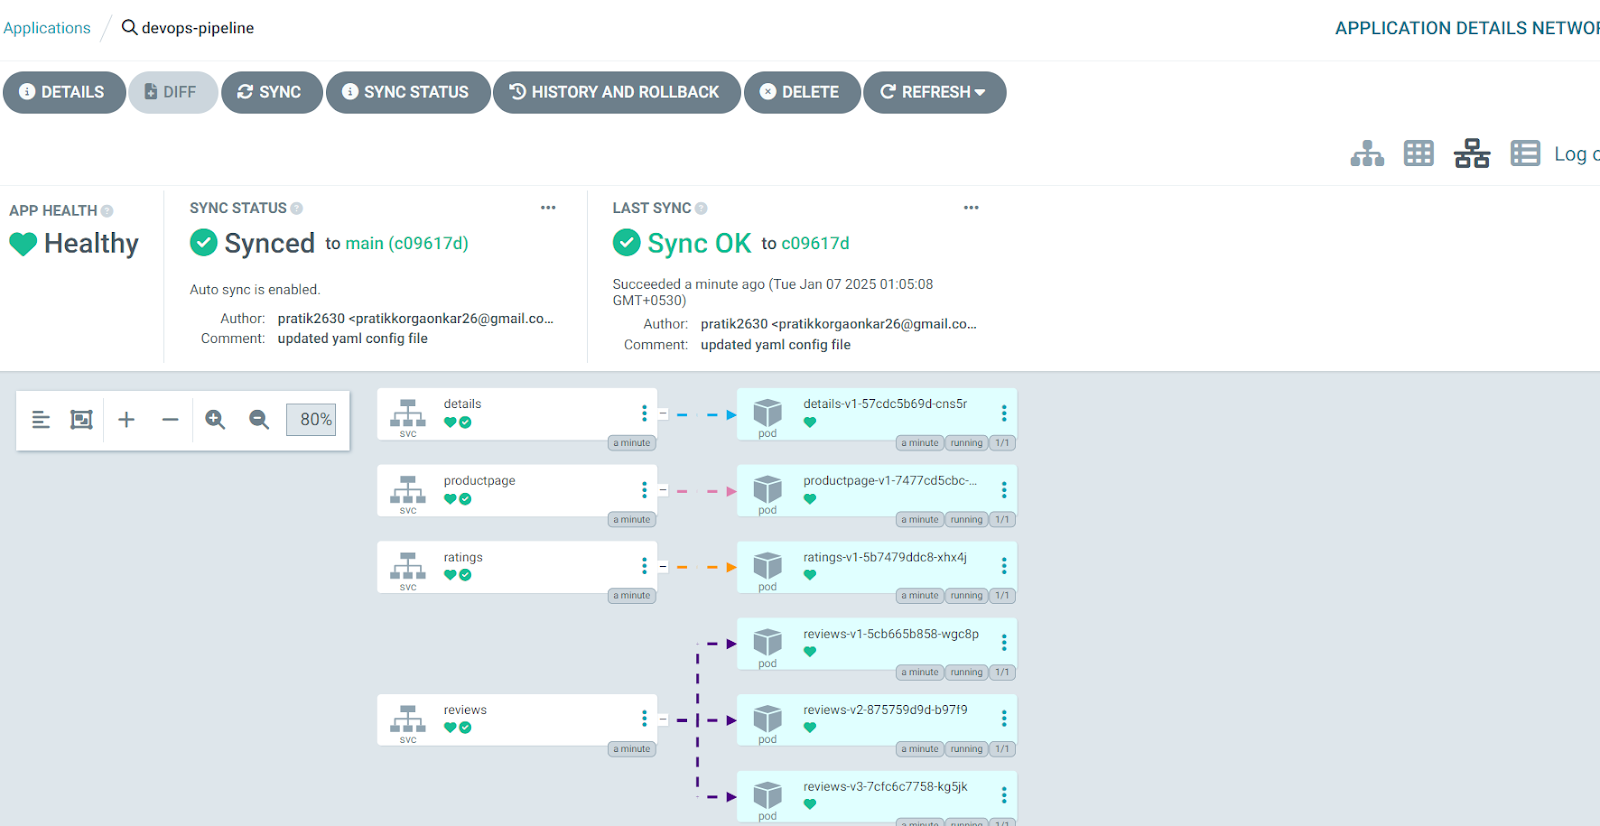
Now we will upload all files as per requirement into github and see how argocd deploys it automatically.
I’ve used another repo for uploading all codes . https://github.com/pratik2630/DevSecOps-pipeline
To download files in respective folder:
Curl https://raw.githubusercontent.com/pratik2630/DevSecOps-pipeline/refs/heads/main/all-files/bookinfo.yaml -o bookinfo.yaml

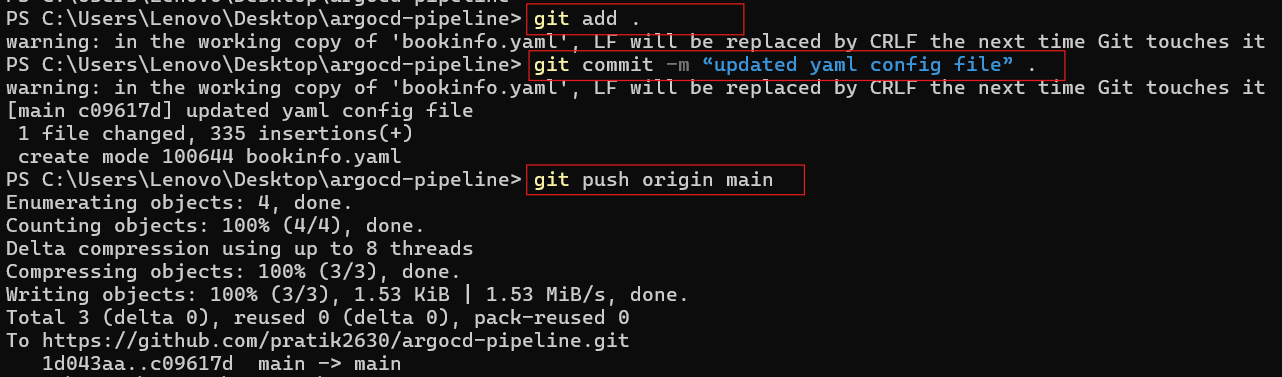
To push changes on github:
git add .
git commit -m “updated yaml config file” .
git push origin main
Check argocd app dashboard for changes
To check using cli:
kubectl get pods -n default

Port forward productpage service so that host machine can access it.
kubectl port-forward svc/productpage -n default 80:9080

Access webapp using : http://127.0.0.1/productpage
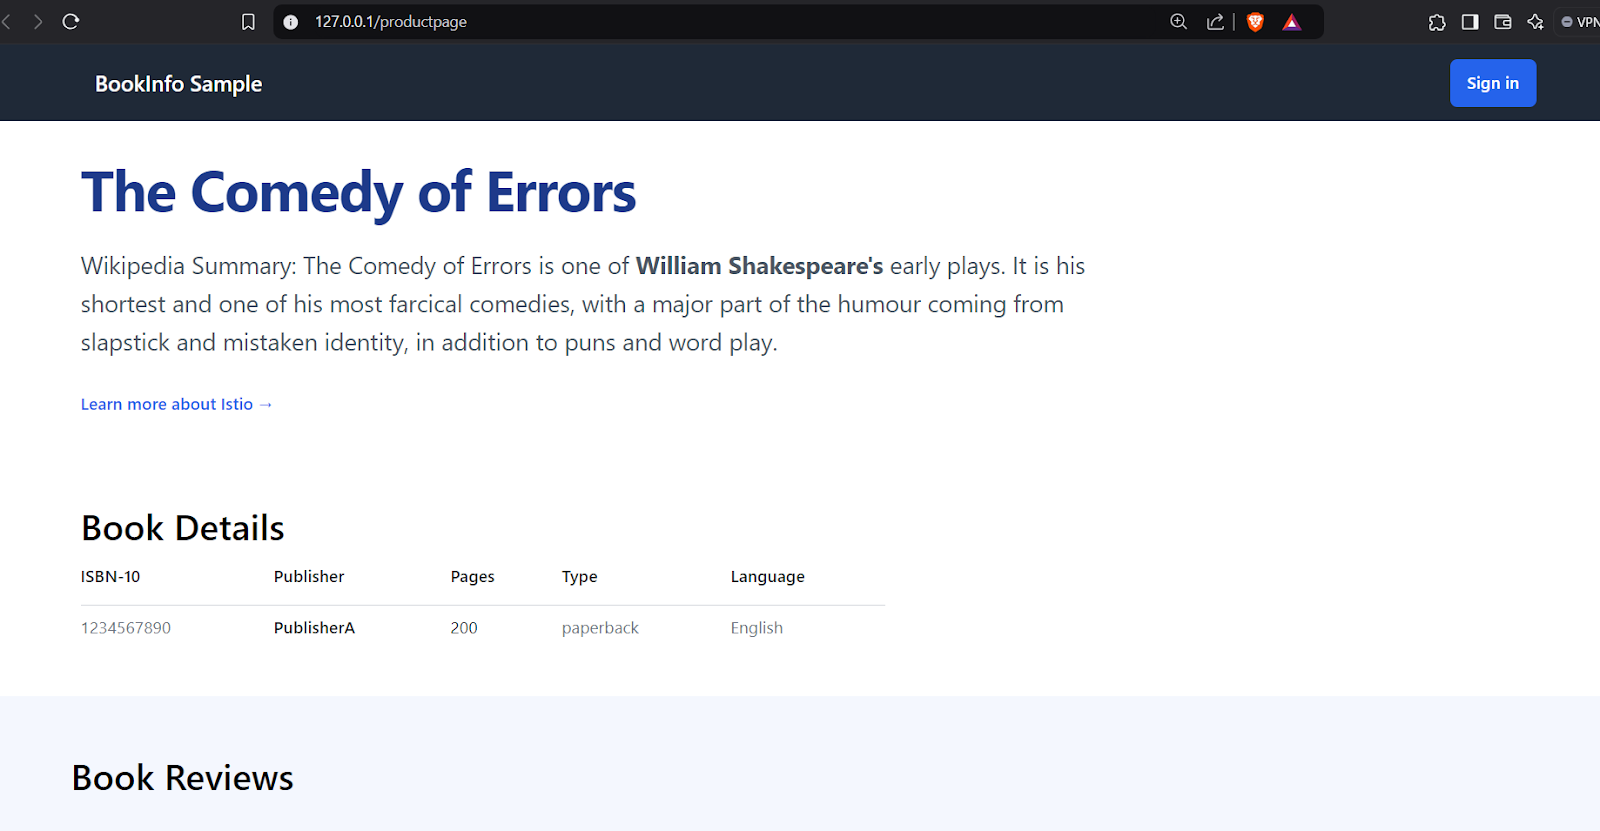
Hurrayyy !!!
K8s with ArgoCD setup Done !!!!
Next part service mesh with Istio , tracing and monitoring
Like , follow and comment if you felt this informative and helpful.