Launch your app with portainer | Getting started with portainer
What is portainer?
Portainer is a centralized multi-cluster container management platform.
With an intuitive UI, codified best practices, and cloud-native design templates, Portainer reduces the operational complexity of multi-cluster container management.
Portainer provides universal support for all orchestrators (Docker, Swarm, Nomad, Kubernetes) across all platforms (Data Center, Cloud, Network Edge, IIoT).
How to install Docker in Windows
To get started with portainer first step is to have an orchestrator on the system. For this practical, we are using docker desktop on windows. For the docker desktop, we've to set up wsl (windows sub Linux)first then install docker desktop. You can follow this blog to complete your initial setup of the docker desktop Docker desktop blog
Portainer Installation
Firstly create volume for portainer where it's gonna store all data related to portainer.
docker volume create portainer_volume
To check created volume run the following command
docker volume ls
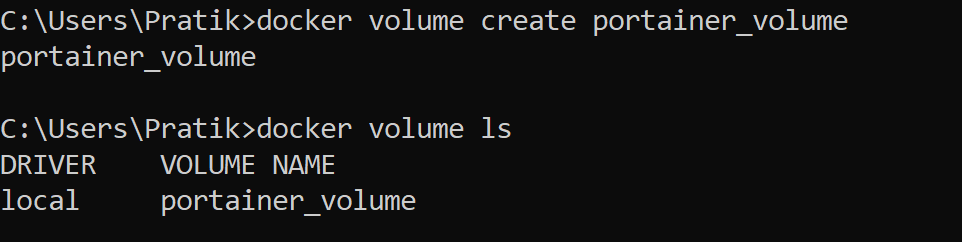
You can see a new volume named "portainer_volume" is created here.
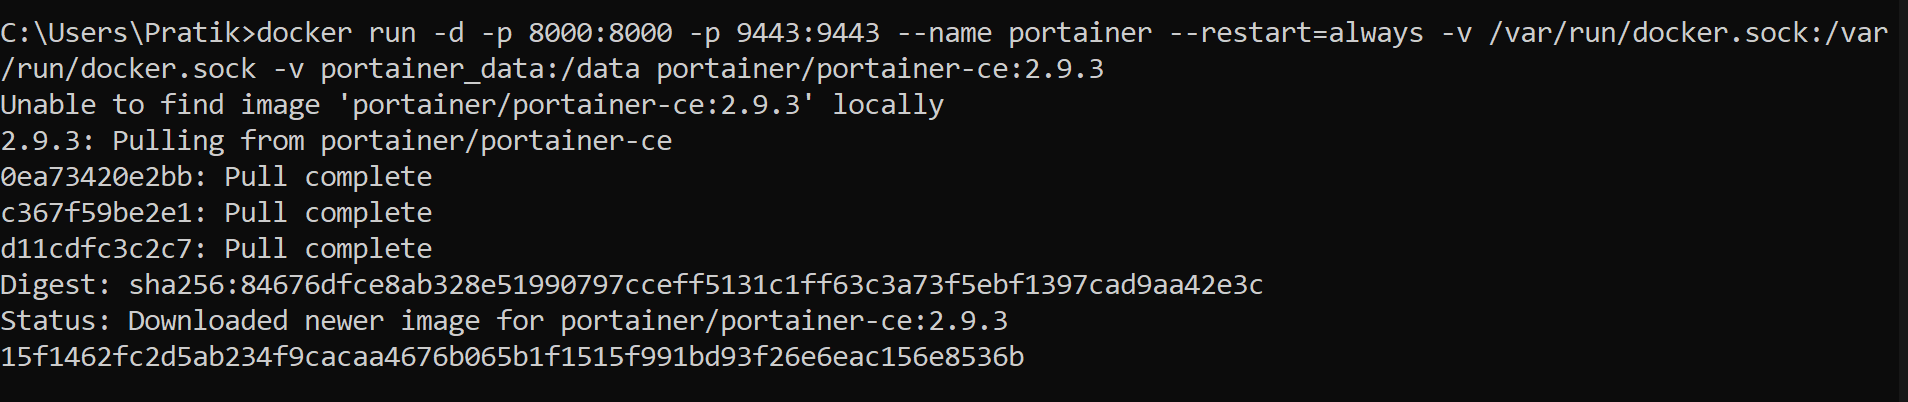
Now we can install the portainer server container inside that volume
Use the following command to download and install the portainer server container
docker run -d -p 8000:8000 -p 9443:9443 --name portainer --restart=always -v /var/run/docker.sock:/var/run/docker.sock -v portainer_data:/data portainer/portainer-ce:2.9.3
If you are installing it for the first time and haven't downloaded the portainer image manually it will first download the portainer latest image by default, then proceed ahead for installation.
You can check if you've installed the portainer image or not using the following command:
docker images
It will show you a list of images available in your system.
Once you are done you will get output like this
To check portainer server container is up or not run this docker command:
docker ps
This will show you the names of running container

Installation of the portainer server is done.
Connecting to Portainer Dashboard
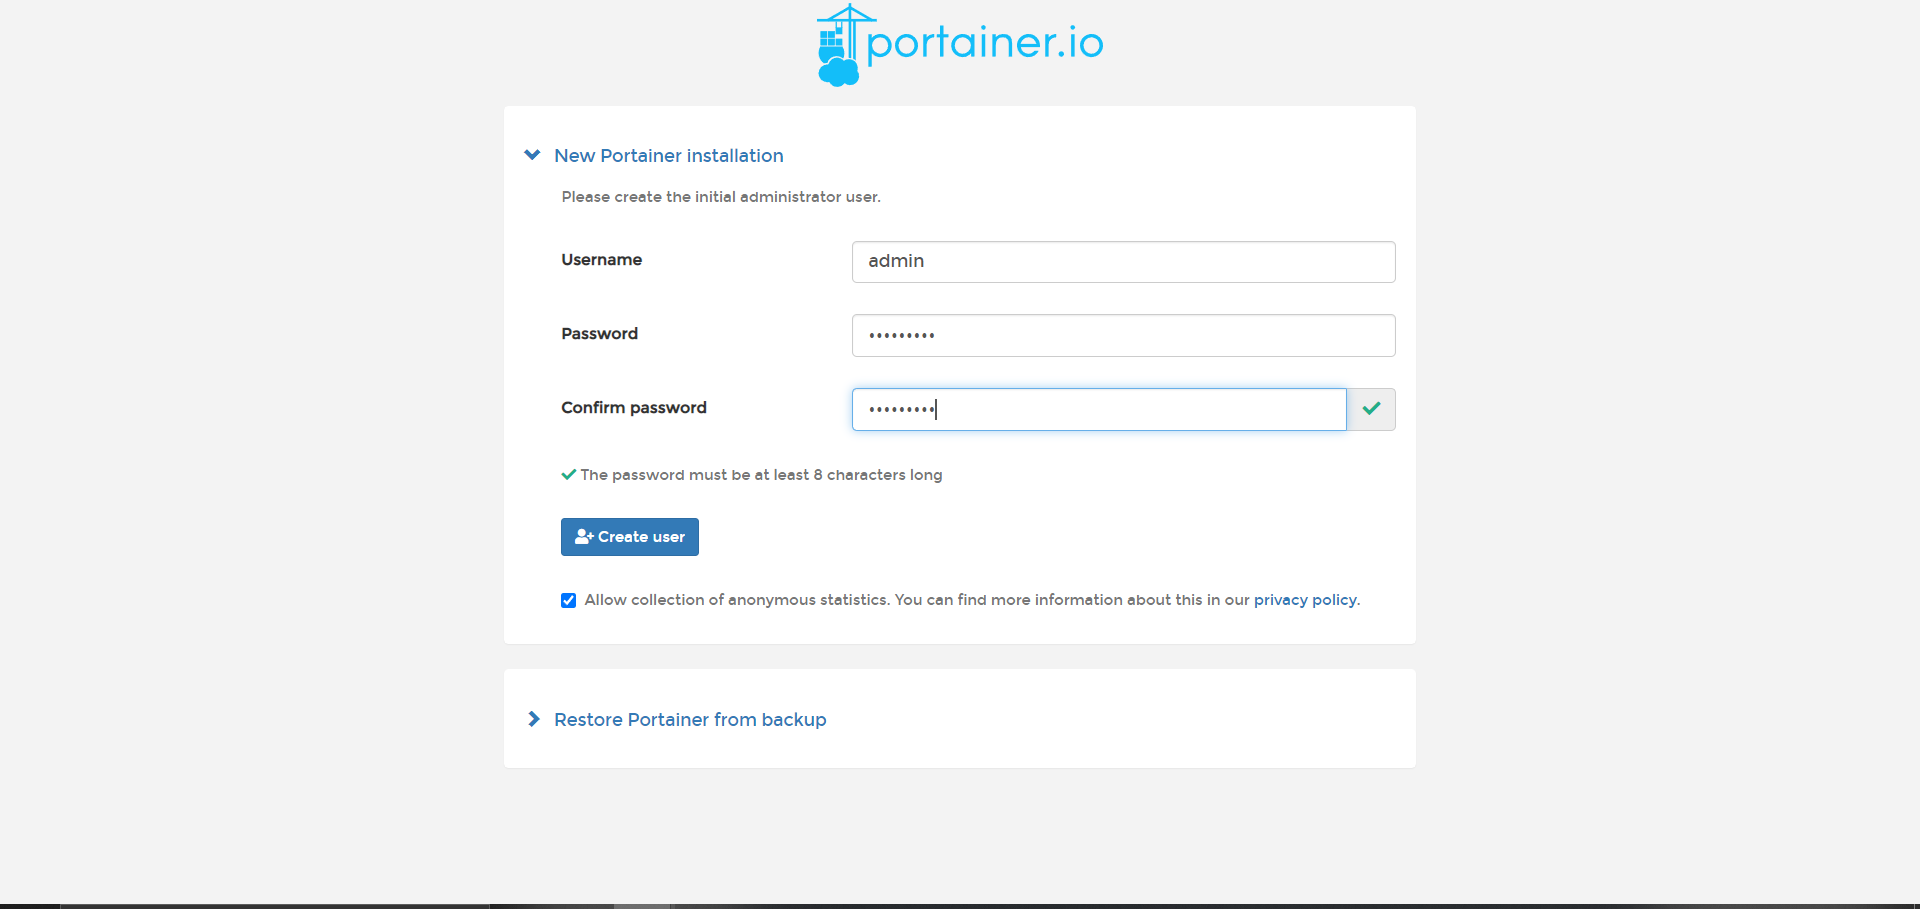
Once you are done with portainer server installation Now you can move to your web browser to access all portainer functionalities In browser search for
https://localhost:9443
You can see the portainer login page where you've to set up a password for the ADMIN account and you are ready to go with portainer
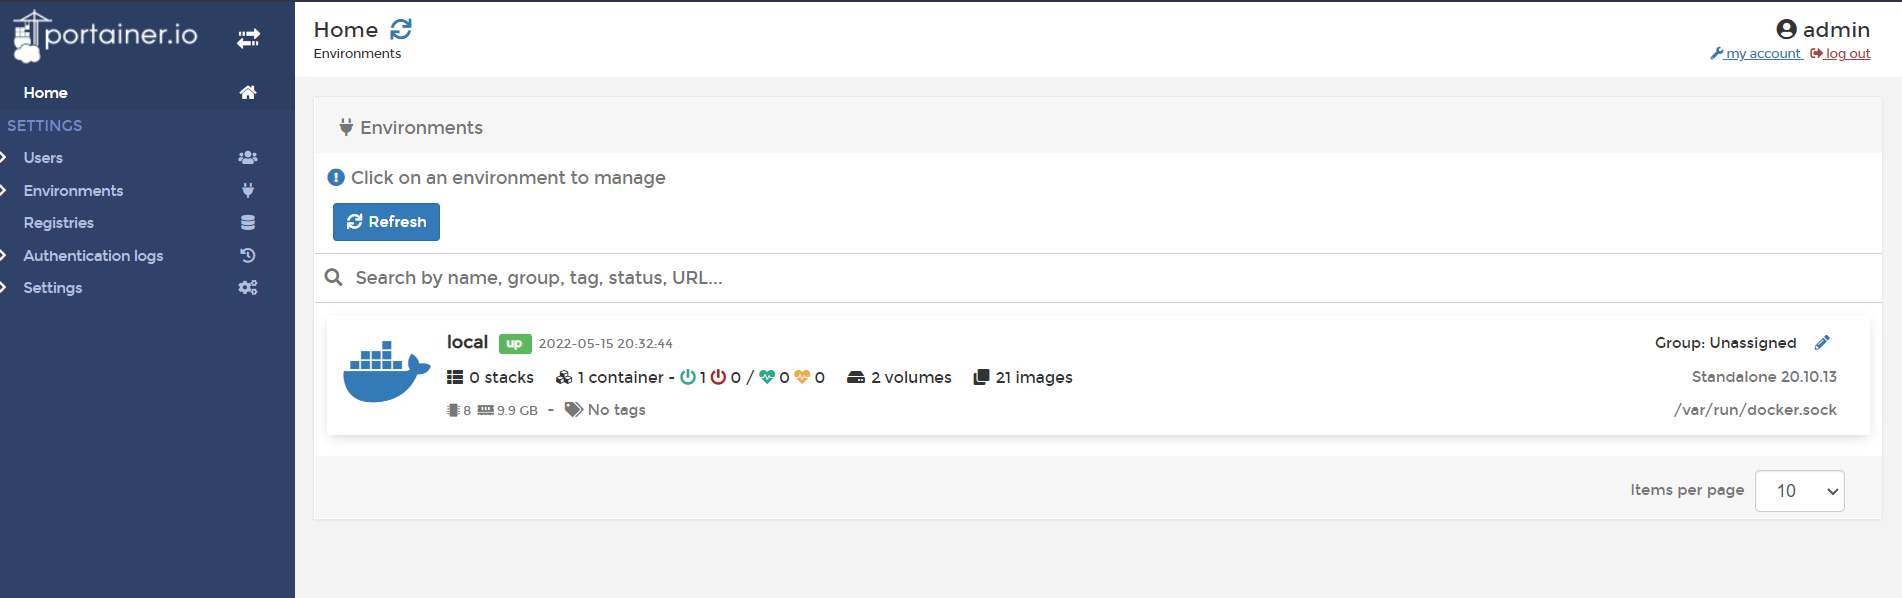
After creating a new account now you can see the home page of portainer where we are going to experiment and explore more things
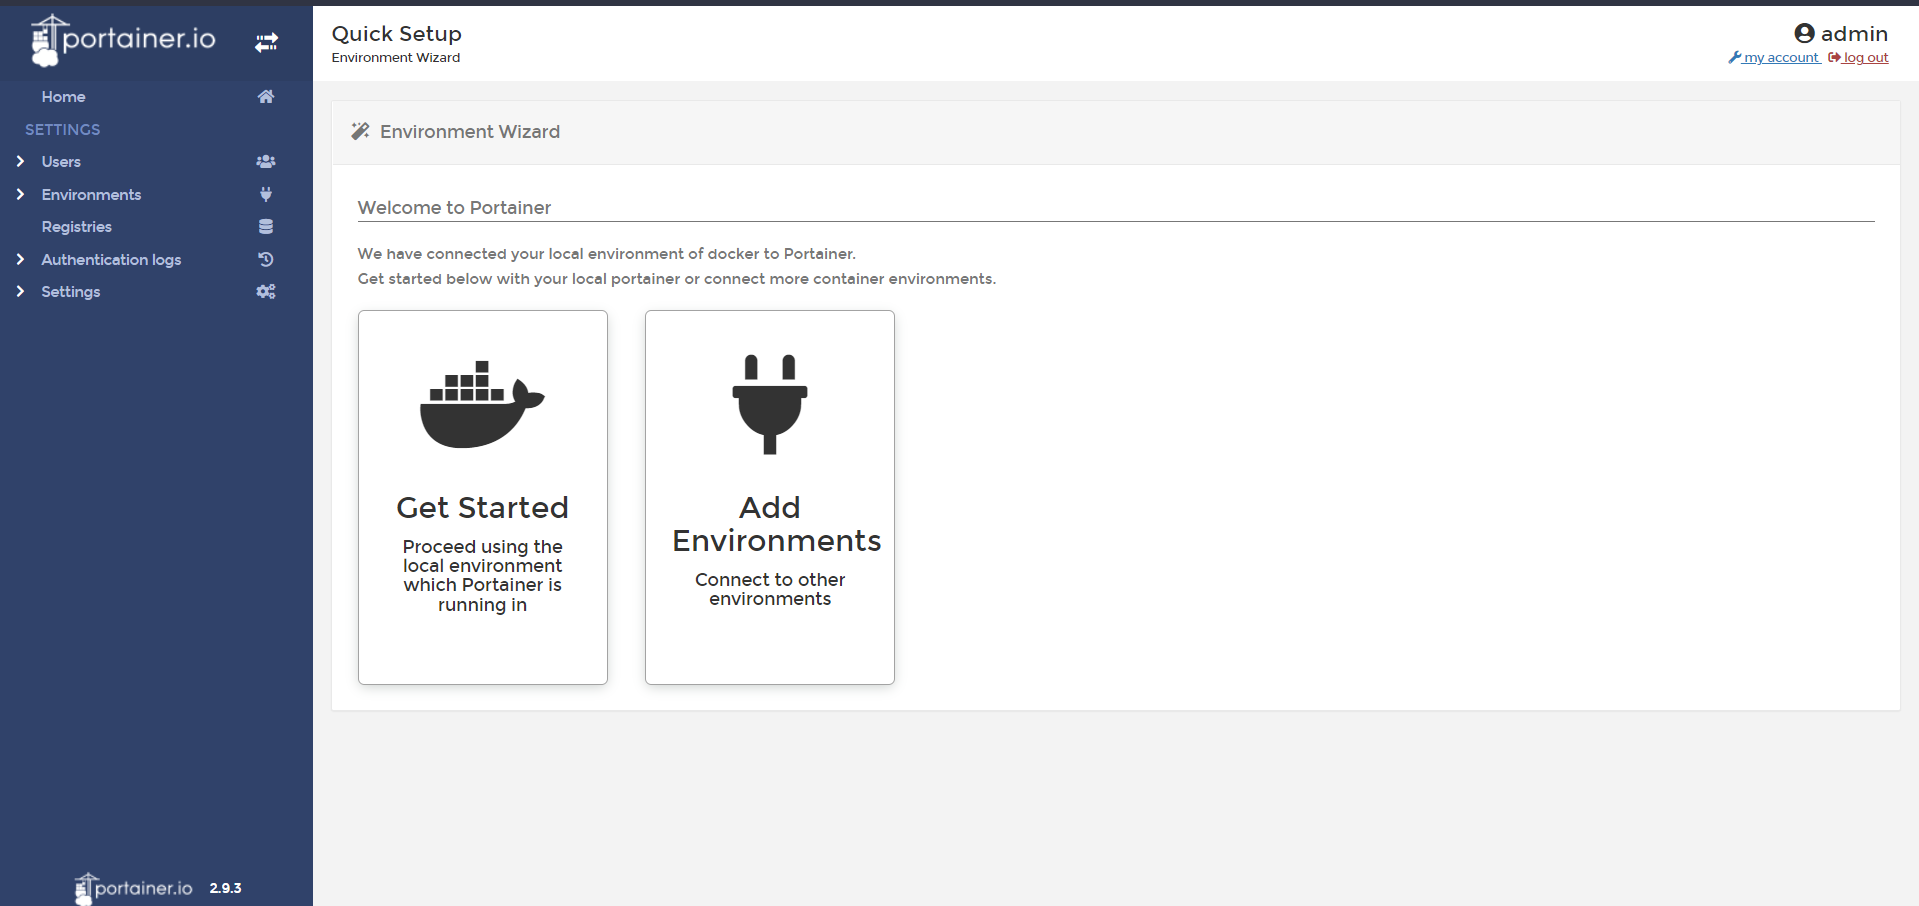
Now quickly start with setup to connect to a local system. Select the "Get Started" button to start with the local environment
Here you can see your local environment can check all details from your web browser itself!!!
deploying the first app using portainer
Once you are done with all this setup part we can move ahead with a demo of deploying your app using portainer
Let's get started
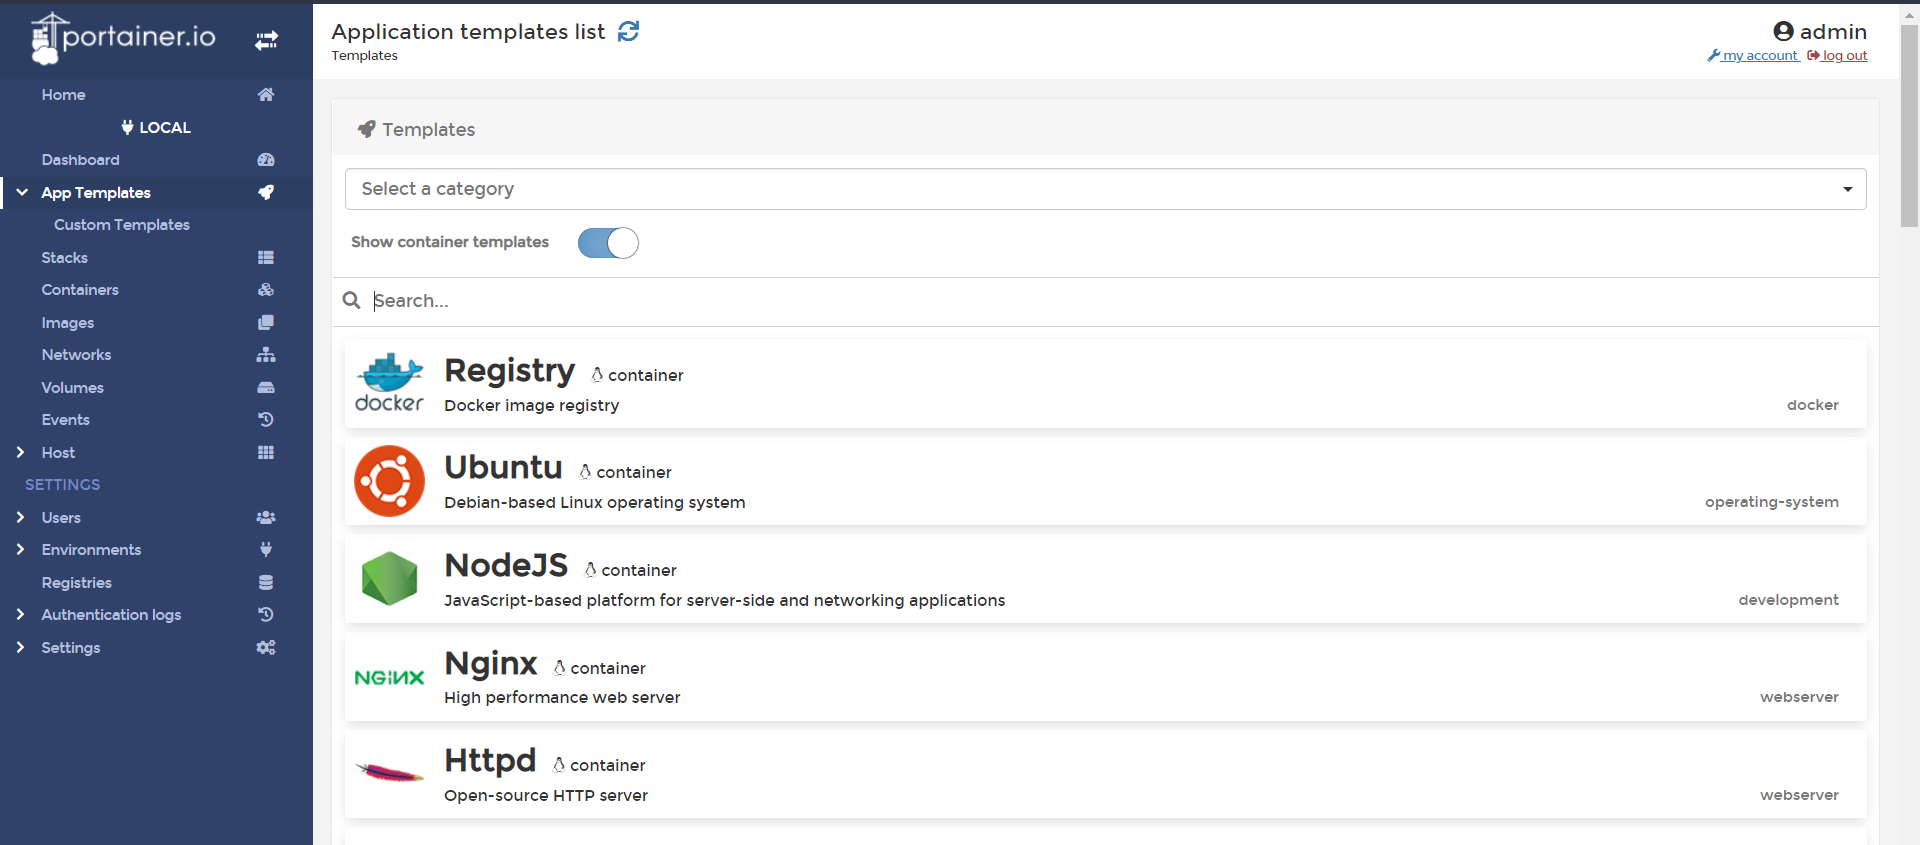
Select the "App templates" option and inside it select the image name. I'm going to use the httpd image to launch our container.
After that, it will land you on the dashboard to select your app name and other settings. Type any app name and keep other settings default and proceed ahead with "deploy container".
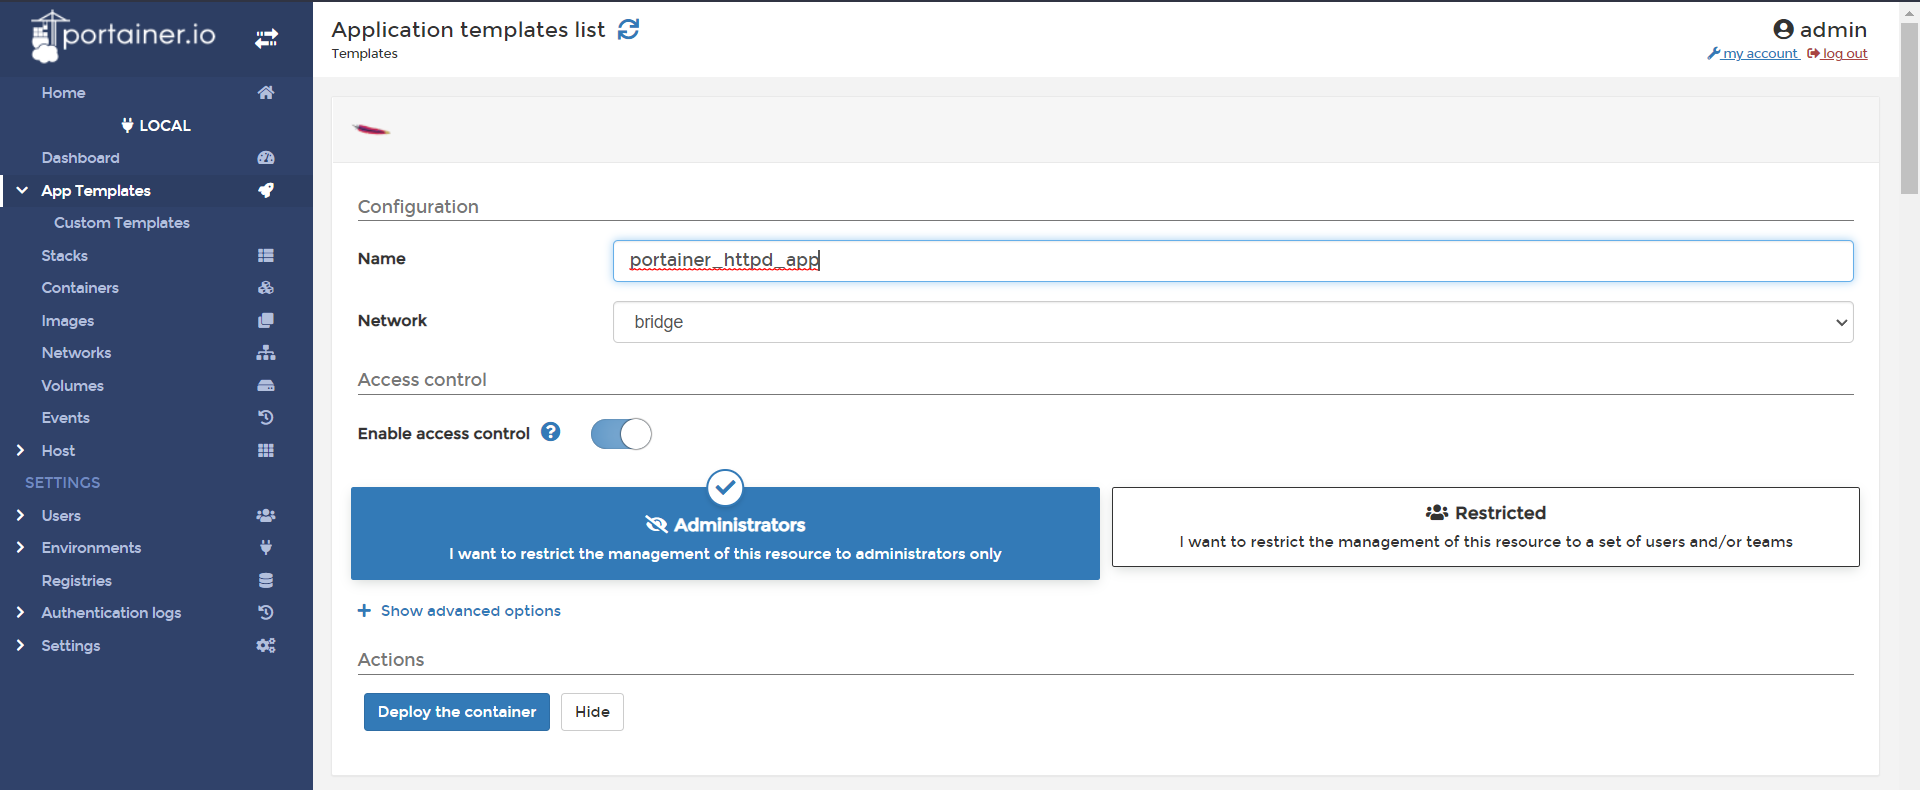
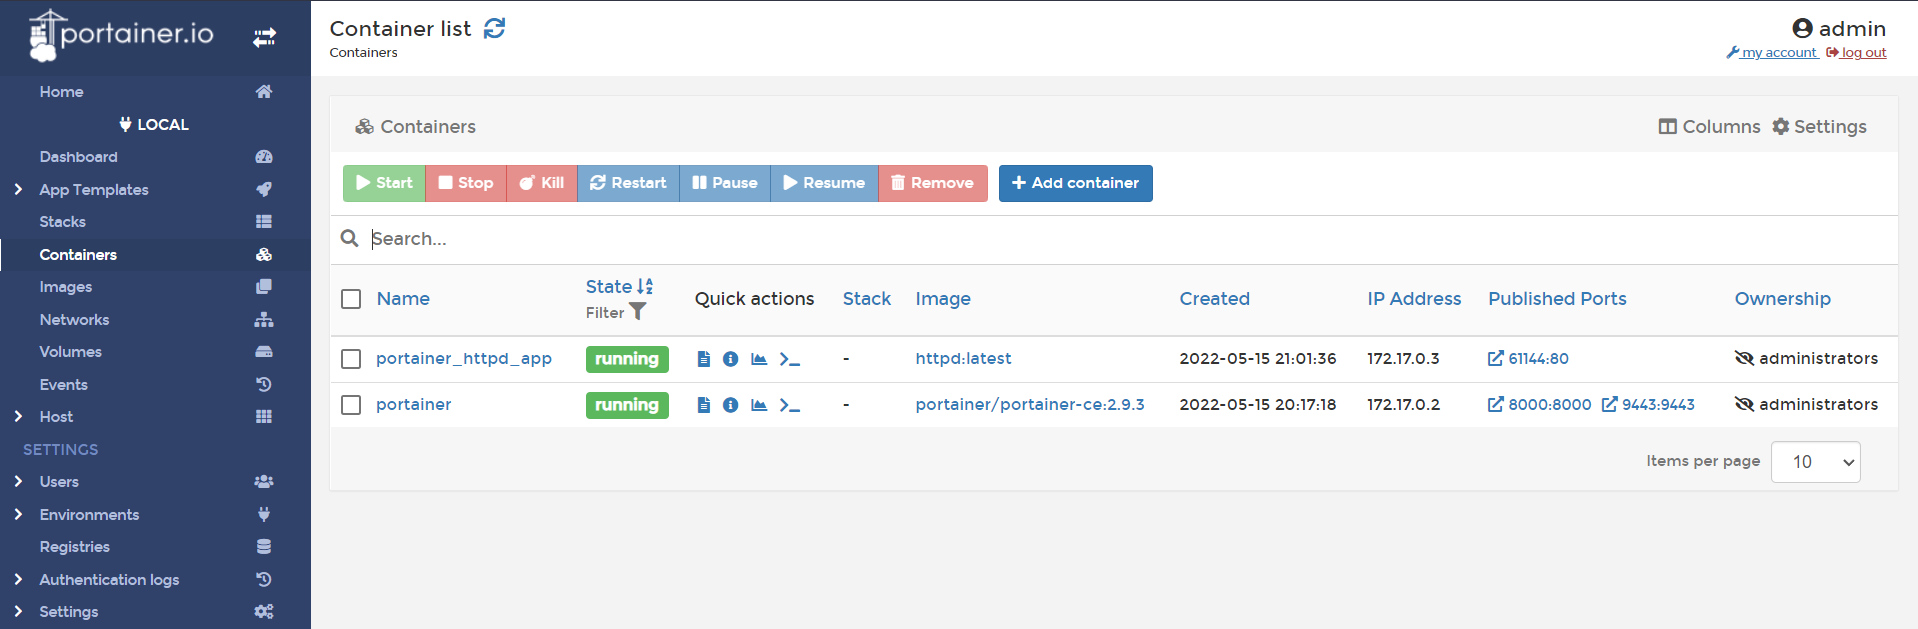
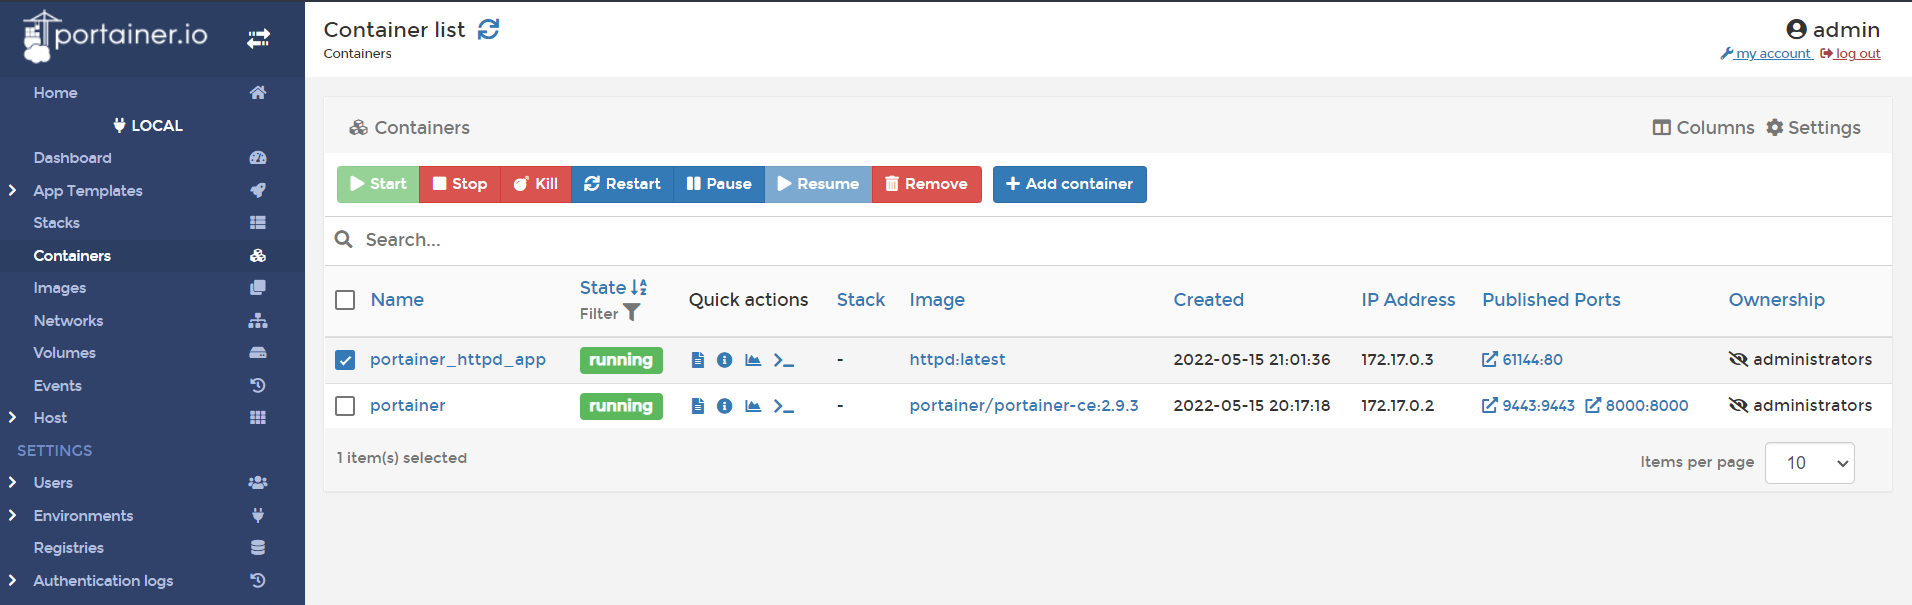
You can see our container is deployed successfully.
Creating webpage in the launched container through portainer
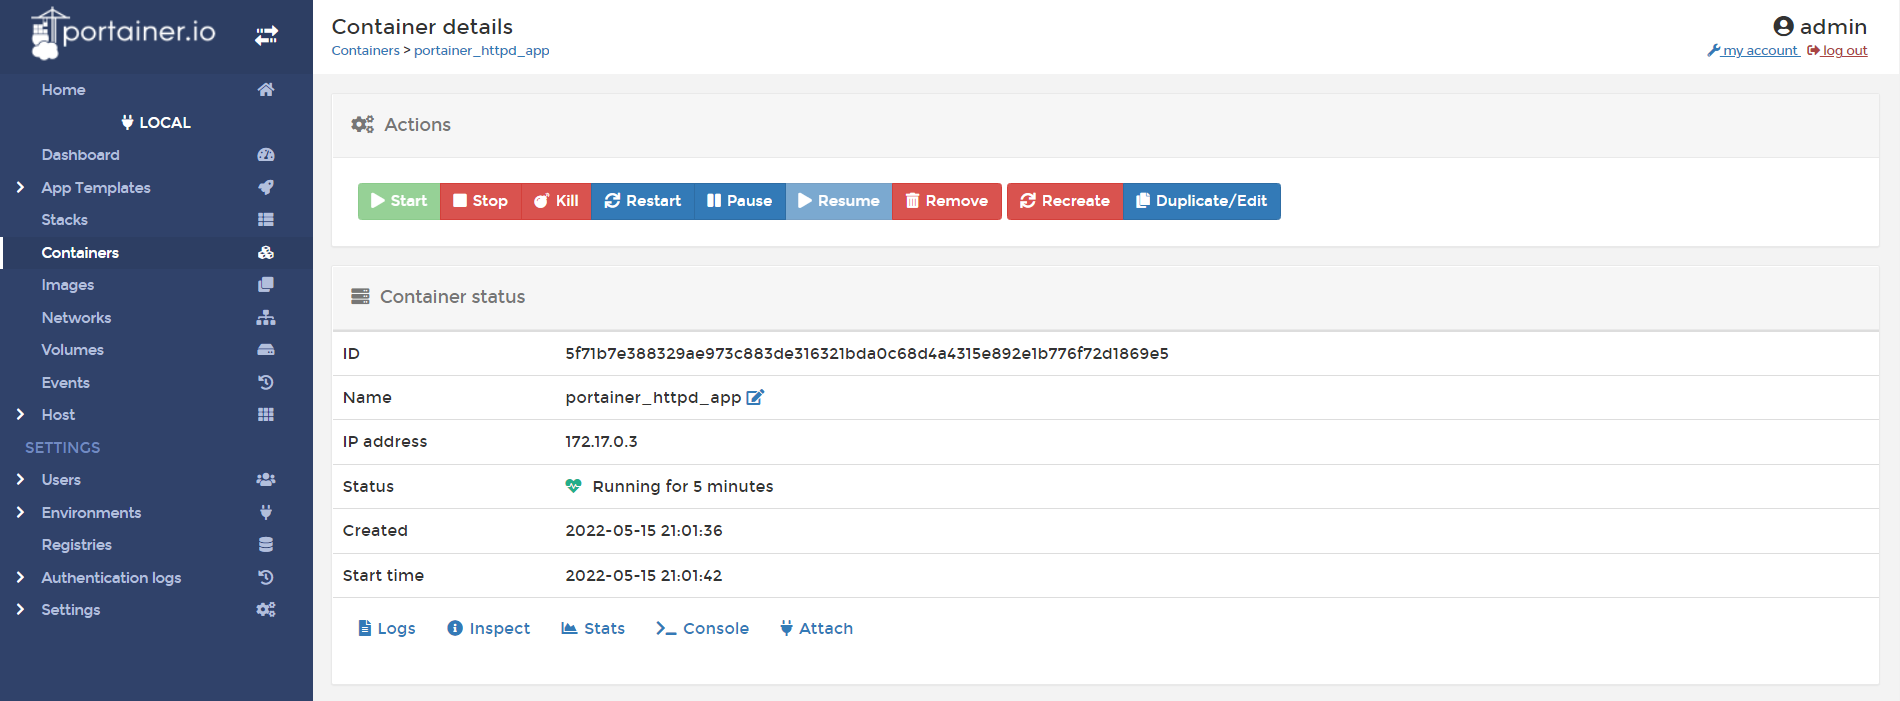
Select on container name :
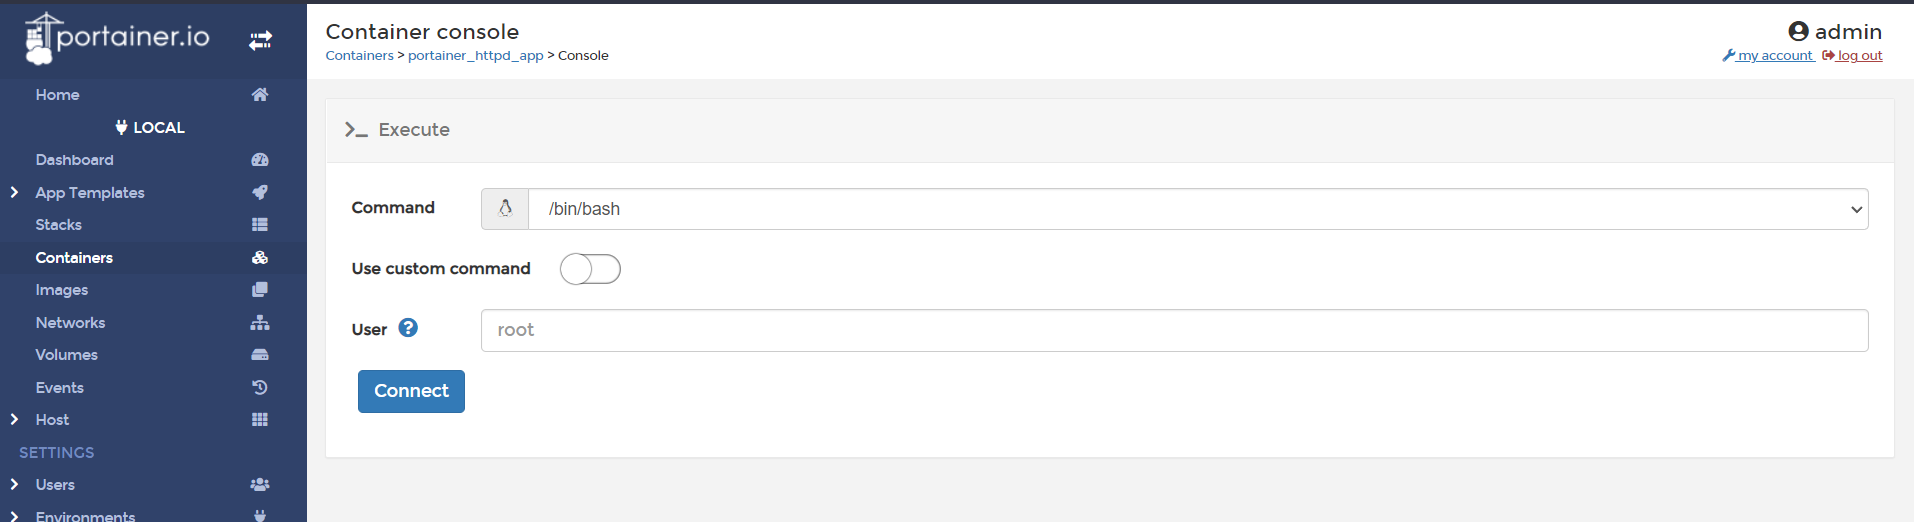
Now select console button will give a terminal from which we can access our container where we are going to create a simple webpage.
It will give the "connect" option by which we will connect to our container
Connection successful
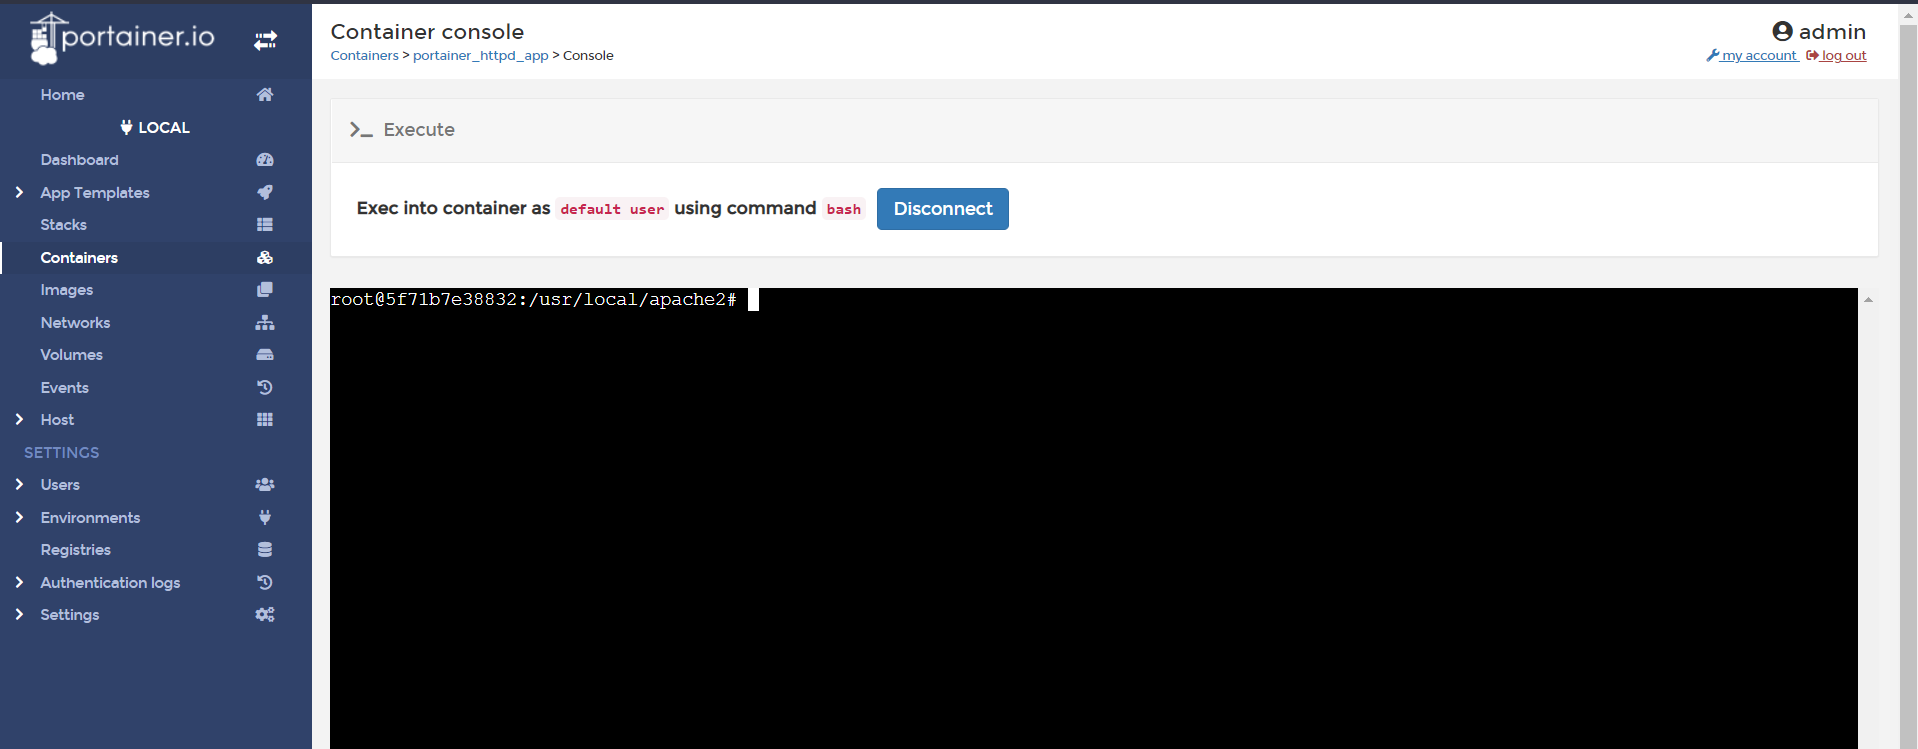
Now we are connected to the container we can edit/create a webpage inside our HTTPd container. We don't have to set up a webserver as we already using the httpd container. Go inside the htdocs folder using
cd htdocs/
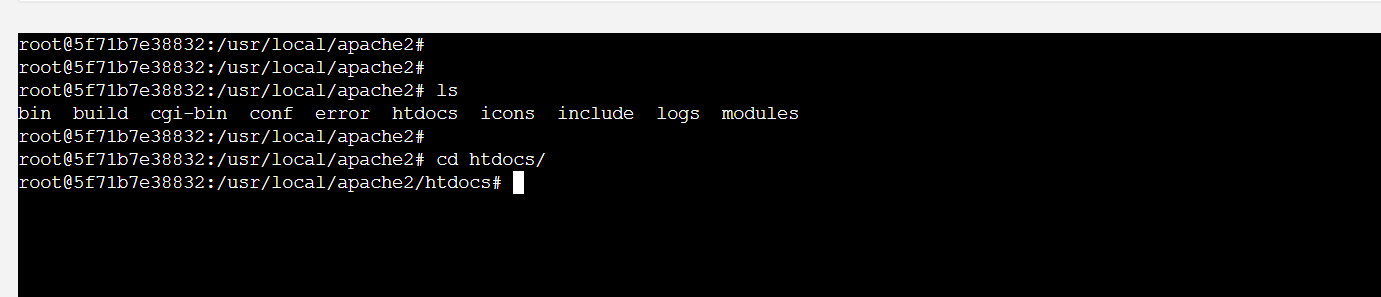
htdocs is the document root folder in the HTTPd server where we keep all our files.
Let's create a simple webpage here.
First, we have to do installations for a vim text editor. Use this command for it
apt-get update && apt-get install apt-file -y && apt-file update && apt-get install vim -y
This is a combination of commands to update, install apt-file, and then install a vim text editor
Now let's create a webpage. Use
vim index.html
To create and open the HTML file And press "i" to get into insert mode
<html>
<body>
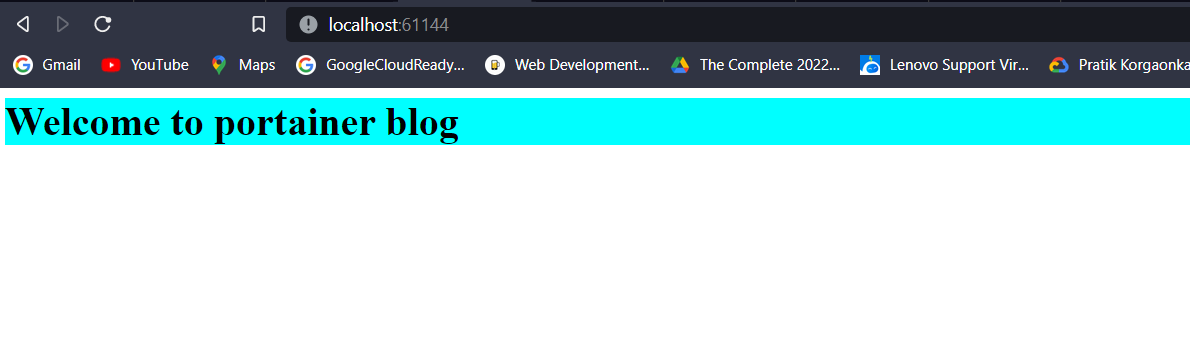
<h1 style = "color = lime; background: aqua" >Welcome to portainer blog</h1>
</body>
</html>

Now to exit hit the ESC key and type:wq and enter. w is used to save and q for quit. Done. Our webpage is ready.
Now to check it first check the exposed port of the container

Here you can see my port is 61144
Inside browser type localhost: And your website is ready!!
You can add more code and create a beautiful website inside the container. Hope you enjoyed this tutorial so far. If you like this blog do like, share and follow my blog for more such tech content.