Getting Started with EKS: Create a Cluster and Deploy Your First App on AWS


In this blog of our multi-part series, we’ll walk through the essentials of setting up an Amazon EKS (Elastic Kubernetes Service) cluster. We will begin by installing all the necessary tools, including AWS CLI, kubectl, eksctl, and Helm. Afterward, we'll use eksctl to create a highly available EKS cluster and deploy a sample app manually on it. By the end of this post, you'll have a fully functional Kubernetes cluster running on AWS, with your application deployed and ready for further configuration and scaling in future posts.
Key topics covered:
Installation of prerequisites (AWS CLI, kubectl, eksctl, Helm)
Creating an EKS cluster using eksctl
Manual app deployment using Kubernetes manifests (Deployment, Service, Ingress)
Testing the deployed application and accessing it via LoadBalancer
This blog will lay the foundation for the rest of the series, preparing you for more advanced setups with ArgoCD, Istio, Kiali, and monitoring tools like Prometheus and Grafana. Let’s get started.
Why Use EKS?
Fully Managed: AWS handles Kubernetes management, updates, and scaling.
Seamless Integration: Works natively with AWS services like EC2, IAM, and CloudWatch.
Scalable & Reliable: Auto-scales across multiple Availability Zones for high availability.
Secure & Compliant: Built-in security with IAM and encryption, meeting standards like HIPAA and PCI-DSS.
Cost-Effective: Pay only for EC2 instances and storage used.
Familiar Tools: Continue using Kubernetes tools with AWS infrastructure.
Required Installations
AWS Account: https://youtu.be/d4aJUubHWTk?si=vP1VebvjZaNWOirA
Gitbash: https://git-scm.com/downloads
AWS CLI: https://docs.aws.amazon.com/cli/latest/userguide/getting-started-install.html
Kubectl: https://kubernetes.io/docs/tasks/tools/
EKCTL:https://eksctl.io/installation/
Helm: winget install Helm.Helm
Istio CLI: https://github.com/istio/istio/releases/tag/1.24.2
Step 1: Create an IAM User and Get Security Credentials
Login to AWS Management Console
- Go to the AWS Management Console and log in with your administrator account.
Navigate to IAM
- In the top search bar, type "IAM" and select IAM from the results to open the IAM dashboard.
Create a New User
In the left menu, click Users > Add user.
Enter the user name and select Programmatic access and/or AWS Management Console access, depending on the use case.
Programmatic access provides access via CLI, SDKs, and APIs.
AWS Management Console access provides a web interface for the user.
Set Permissions
Choose Attach policies directly to assign permissions.
You can use predefined policies like AdministratorAccess for full permissions or specific policies based on your needs.
Set Tags (Optional)
- Optionally, add tags (e.g., Department: IT, Project: EKS) for better organization.
-
- Review the details and click Create user.
Download Credentials
Once the user is created, you will be shown the Access key ID and Secret access key. Download these credentials by clicking Download .csv or note them down.
Important: This is the only time you will see the Secret Access Key, so be sure to save it securely.
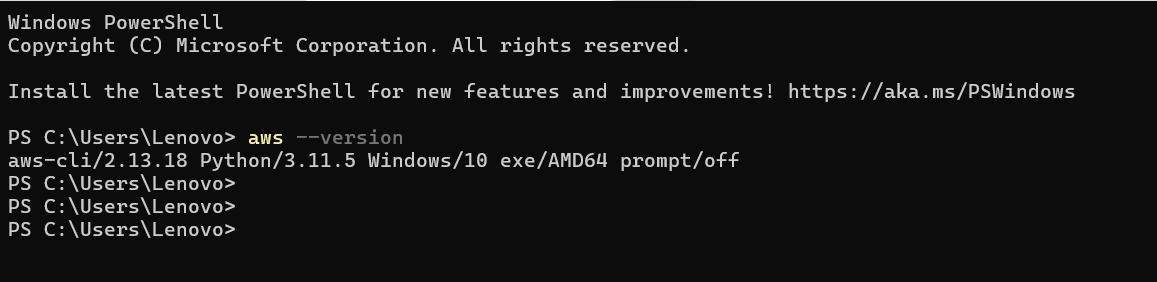
Check aws cli version
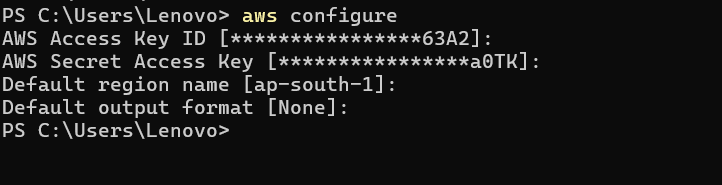
Add security credentials


Create cluster using
eksctl create cluster –name ClusterName

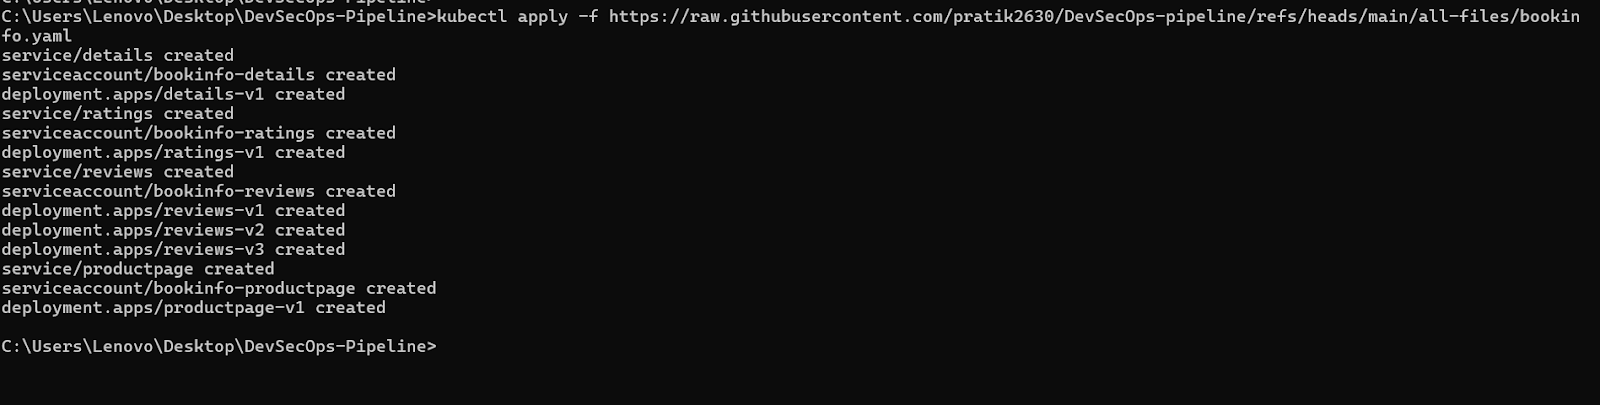
Deploy your first app on kubernetes
The command applies the Kubernetes configuration from the specified URL (bookinfo.yaml) to the cluster, deploying resources defined in the file.
kubectl apply -f https://raw.githubusercontent.com/pratik2630/DevSecOps-pipeline/refs/heads/main/all-files/bookinfo.yaml
To access website from host machine we’ve to do port forwarding:
kubectl port-forward svc/productpage 80:9080

Access website http://127.0.0.1:80/productpage
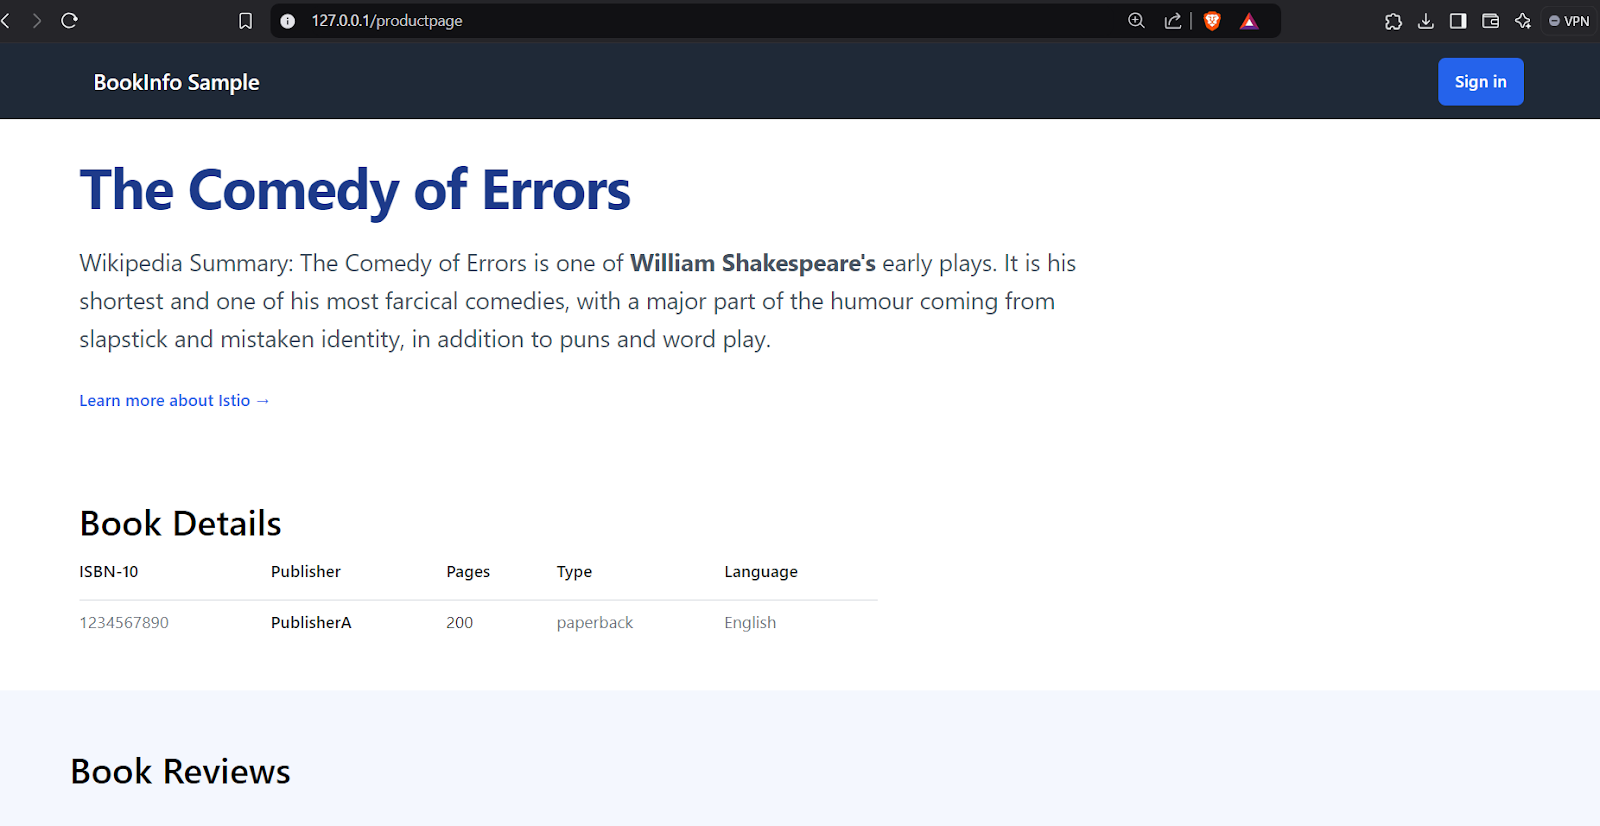
Your first kubernetes app deployment is successful !
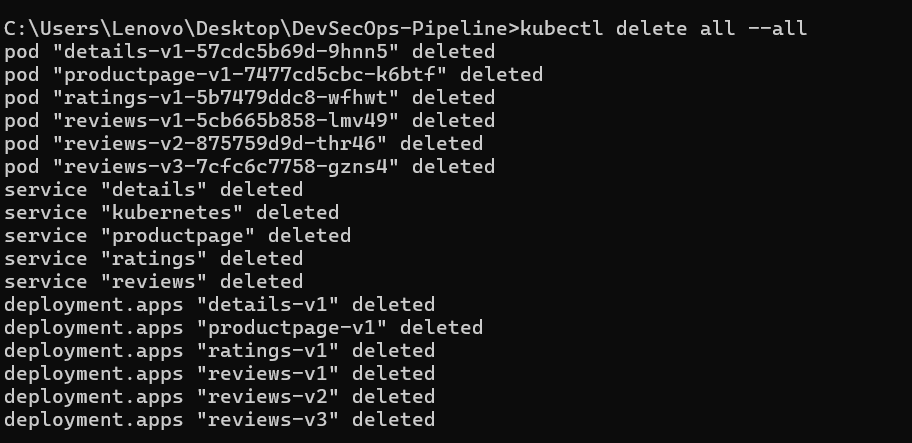
To delete everything run :
kubectl delete all --all